User Guide
Logging in
Access the Cloudloop Burst service at burst.cloudloop.com.
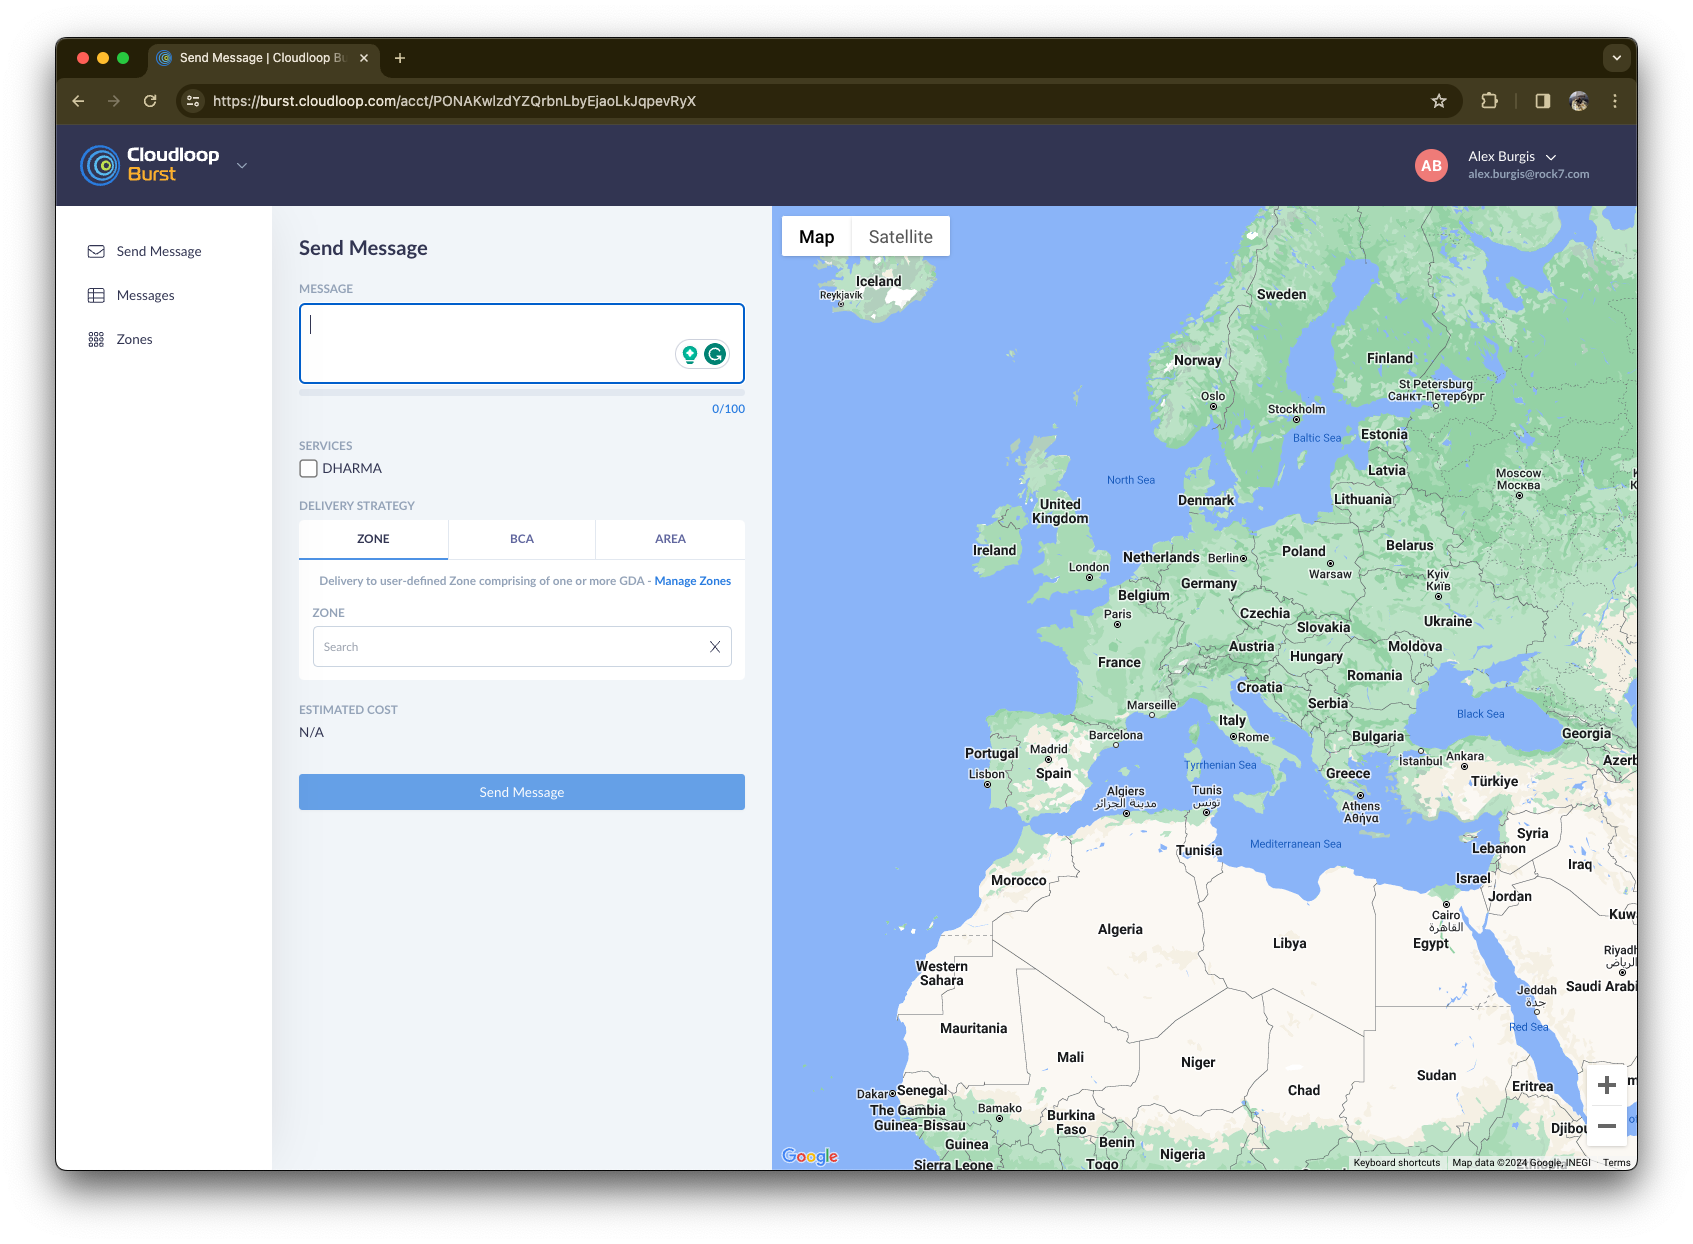
Send Message
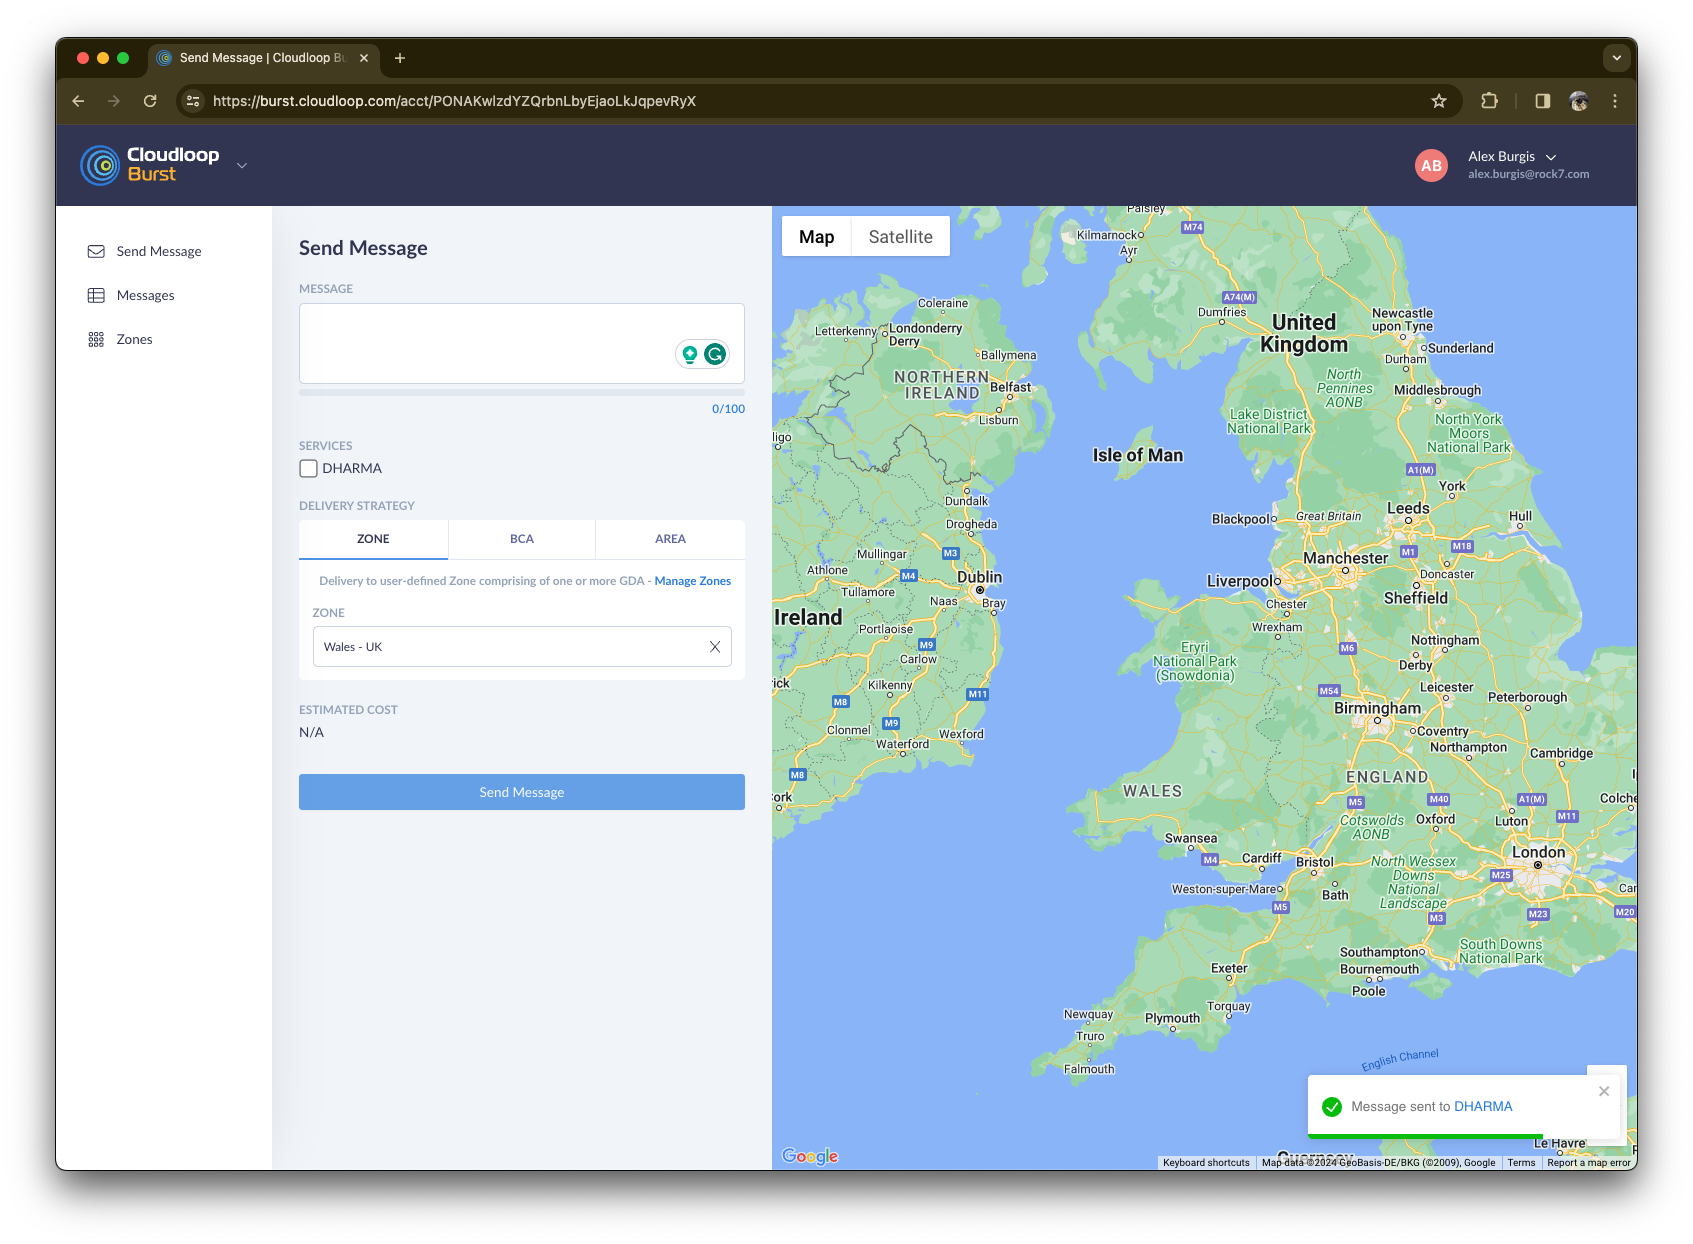
Message
Input field for messages, limited to 100 characters. A counter displays the characters used.
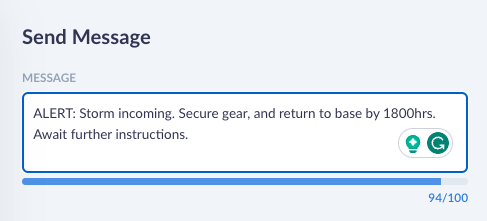
Note: The RockSTAR Burst device supports all printable ASCII except for these characters: "#$@^`|~
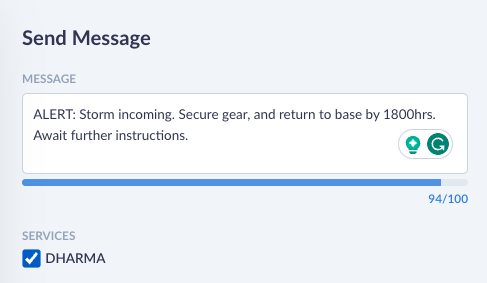
Services
Choose one or more Services as message recipients. Messages can target multiple services.
Delivery Strategy
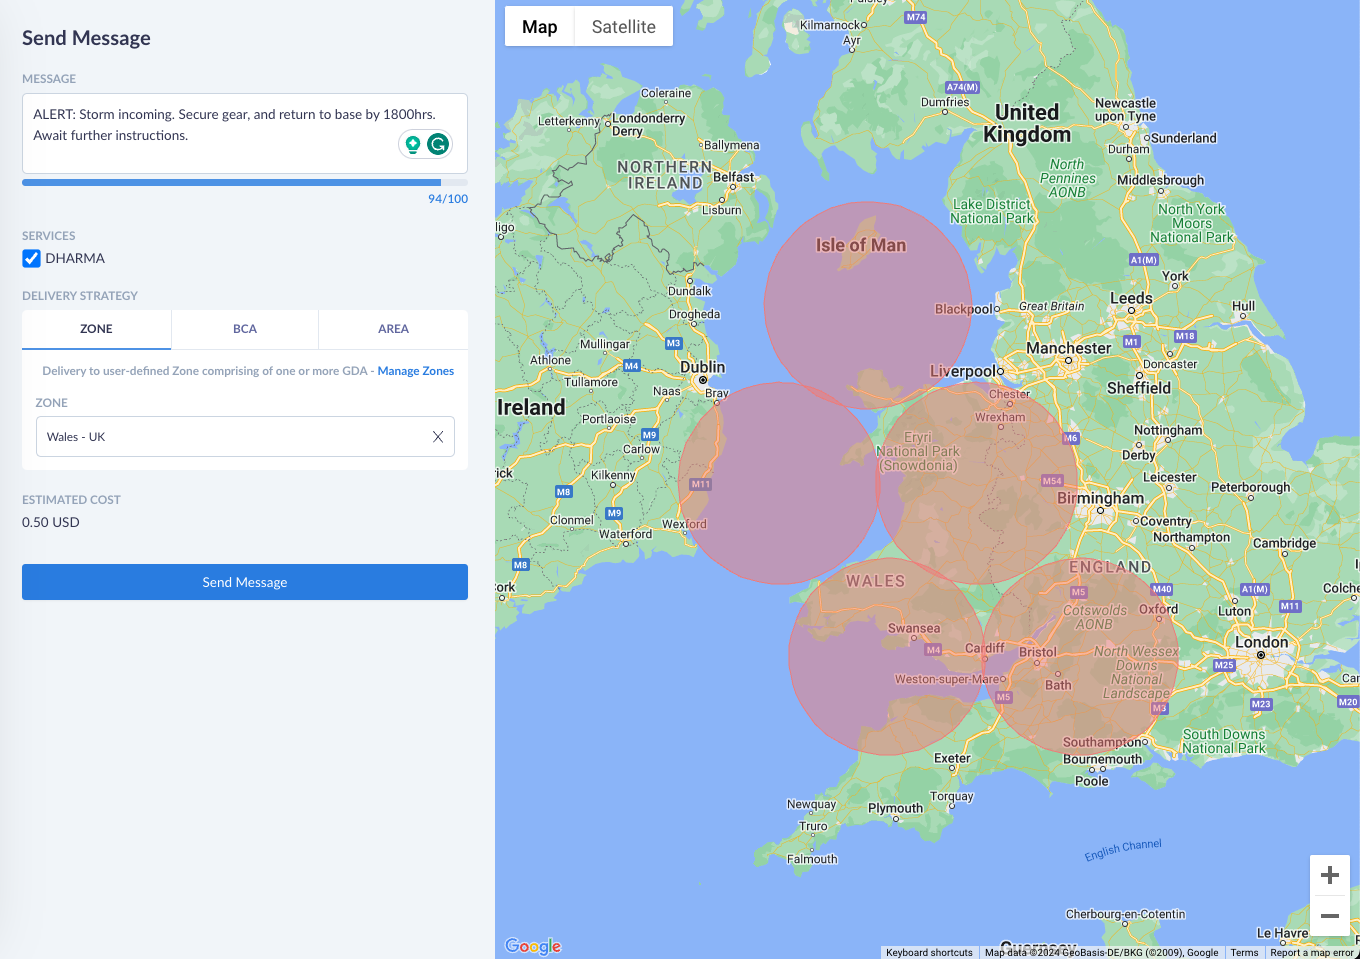
Zones
Selects GDAs based on a user-defined list. Configurable via the Zones menu.
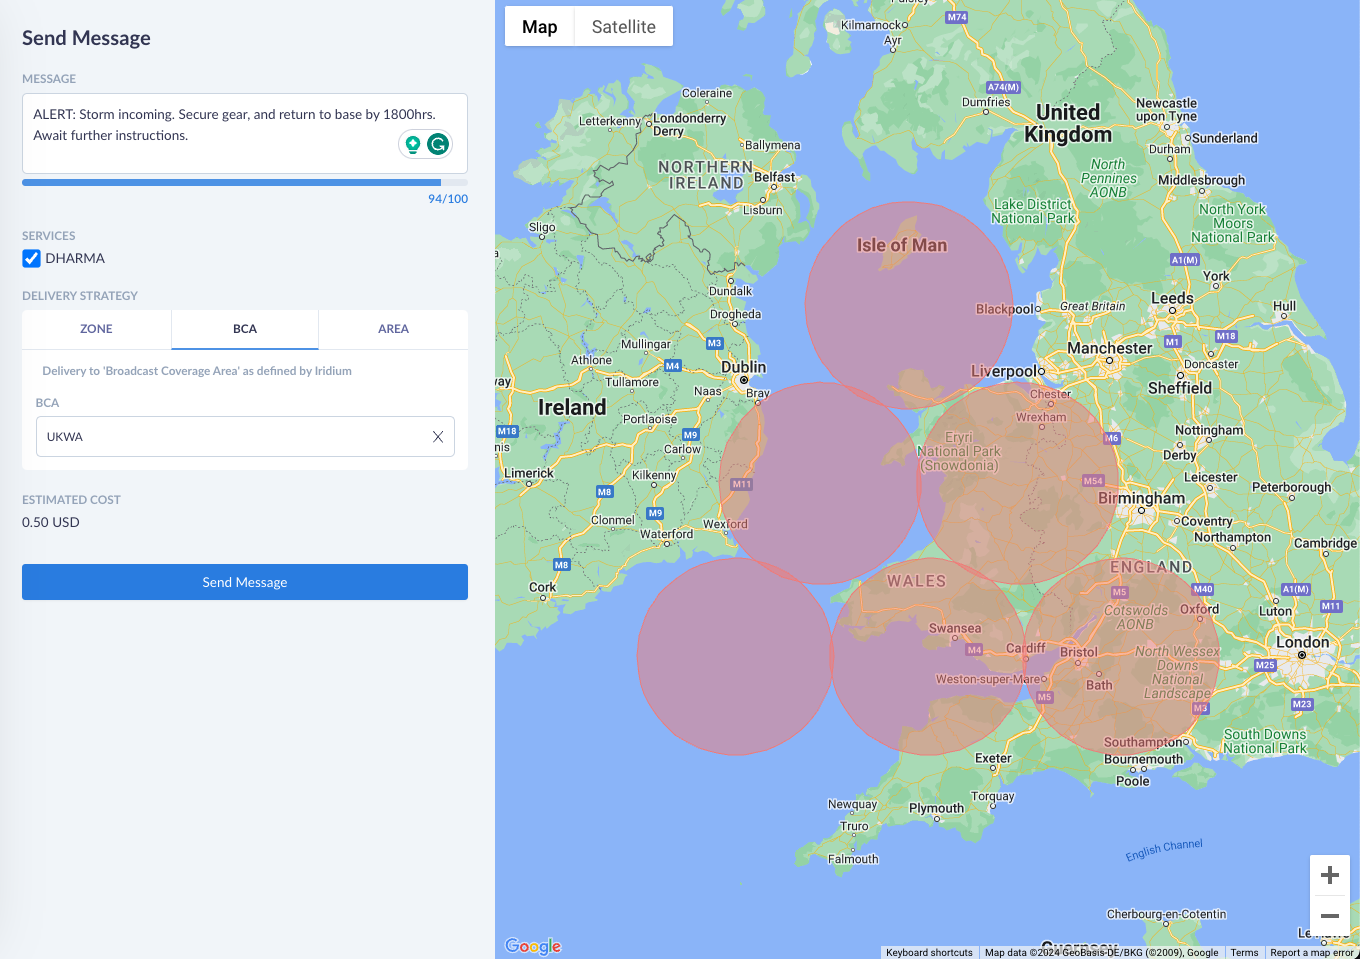
BCA
Utilises Iridium's pre-set Broadcast Coverage Areas, e.g., UE for the United Arab Emirates, FR for France including overseas territories.
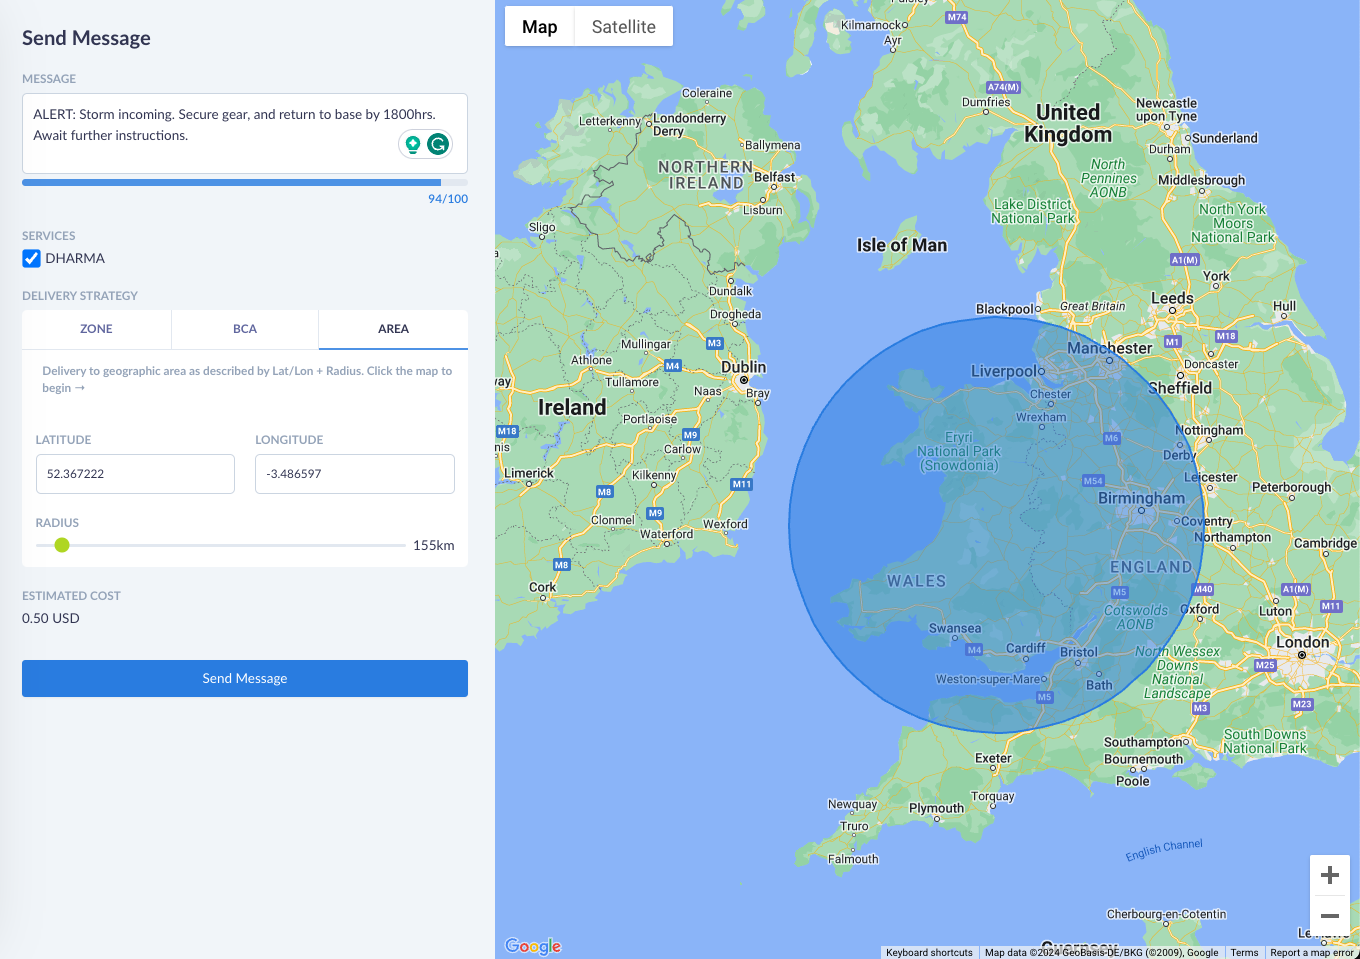
Area
Targets based on Latitude/Longitude and Radius, encompassing all relevant GDAs.
Repeat Message?

Repeat messages can be utilised when the highest level of delivery confidence is required. Users can configure the number of repetitions and set the interval at which they repeat, choosing from minutes, hours, or days.
Estimated Cost
The cost is calculated based on the number of Services and GDAs selected. Iridium charges for a minimum of 100 characters and 10 GDAs per message.
Send Message
Click 'Send Message' to transmit your message.
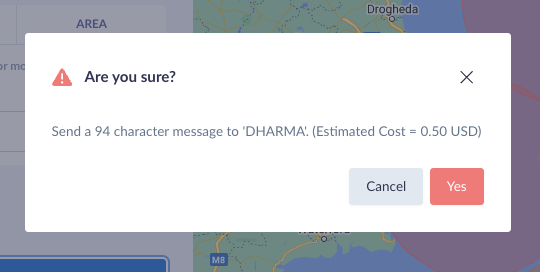
A confirmation dialogue appears, indicating the target services, message size and estimated cost.
When a message is sent, a confirmation dialogue appears in the bottom right corner of the screen.
Messages
Displays a log of all sent messages.
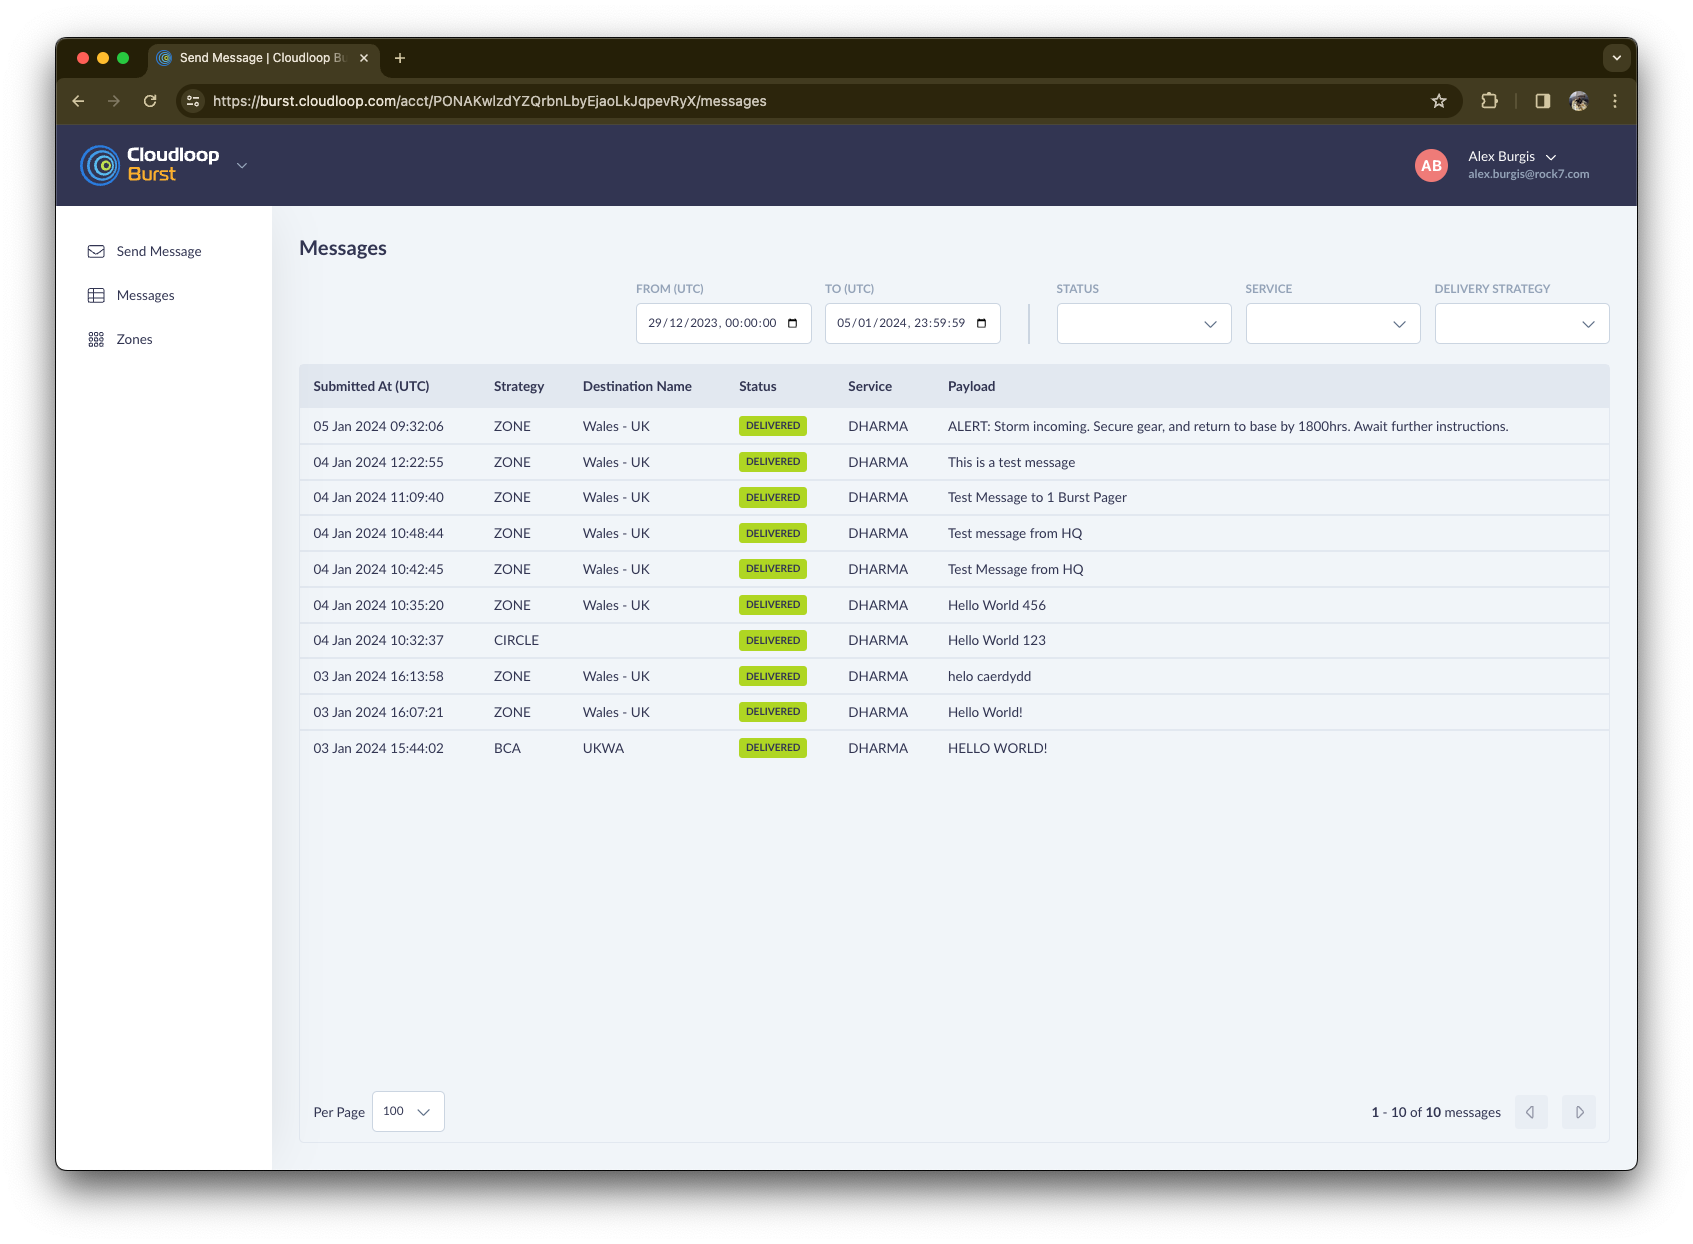
| Submitted At (UTC) | Strategy | Destination Name | Status | Service | Payload |
|---|---|---|---|---|---|
| Date/Time | Zone/BCA/Circle | Zone/BCA ID | Delivery Status #Repetitions | Recipient Service(s) | Message Payload |
NOTE: If the Repeat Message option is used, the number of repetitions is displayed beside the status. The status will only change to 'delivered' once all repetitions are completed.
Filters
Filtering the messages table streamlines navigation, enabling swift location of relevant data based on date, service, status, or delivery strategy, essential for efficient information analysis.
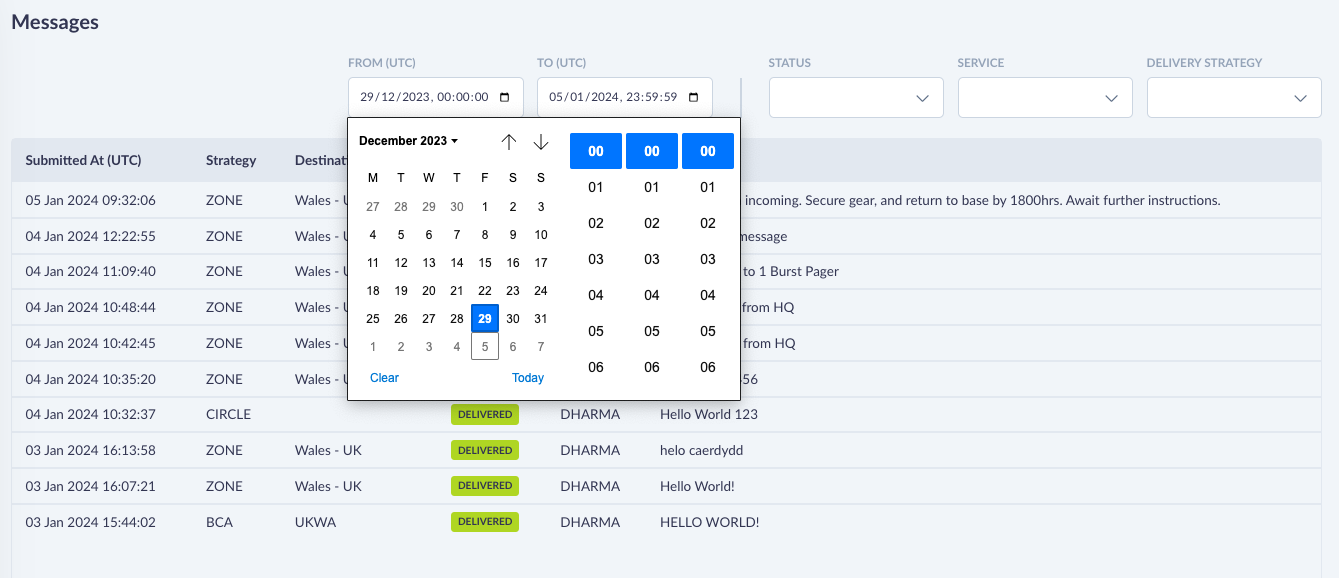
Date/Time
Filter messages sent within specific dates and times.
Service
Filter messages sent to particular services.
Status
Filter by the delivery status of messages.
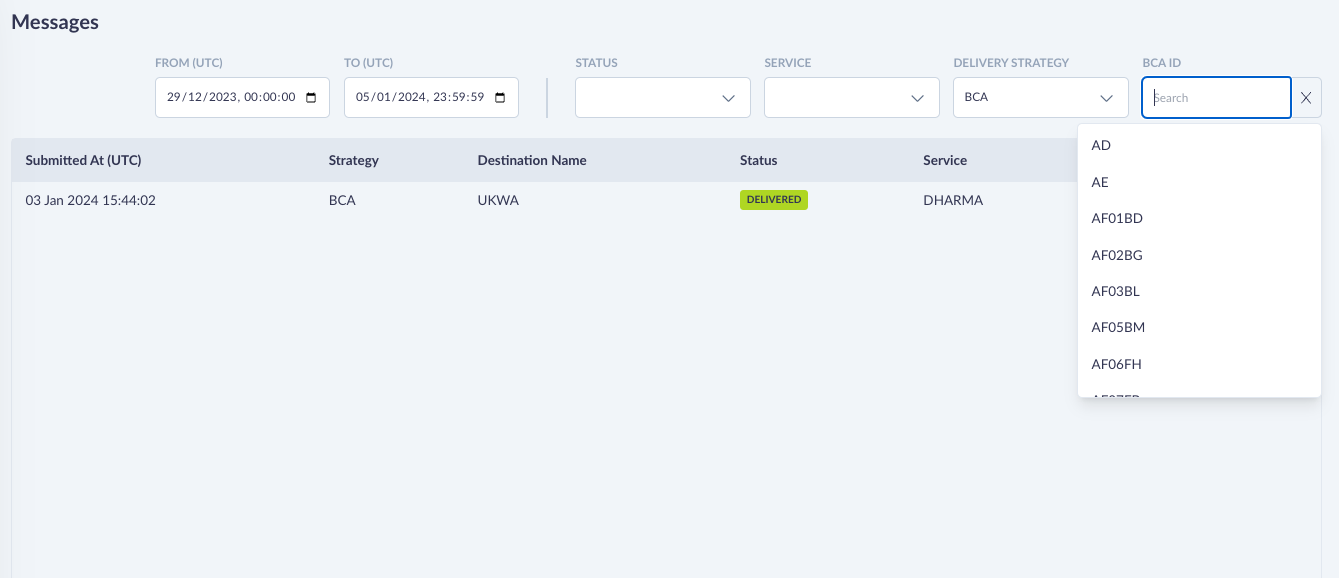
Strategy
Filter by delivery strategy, such as BCA, Zone, or Area. When selecting BCA or Zone, an additional filter for specific Zone or BCA IDs becomes available.
Zones
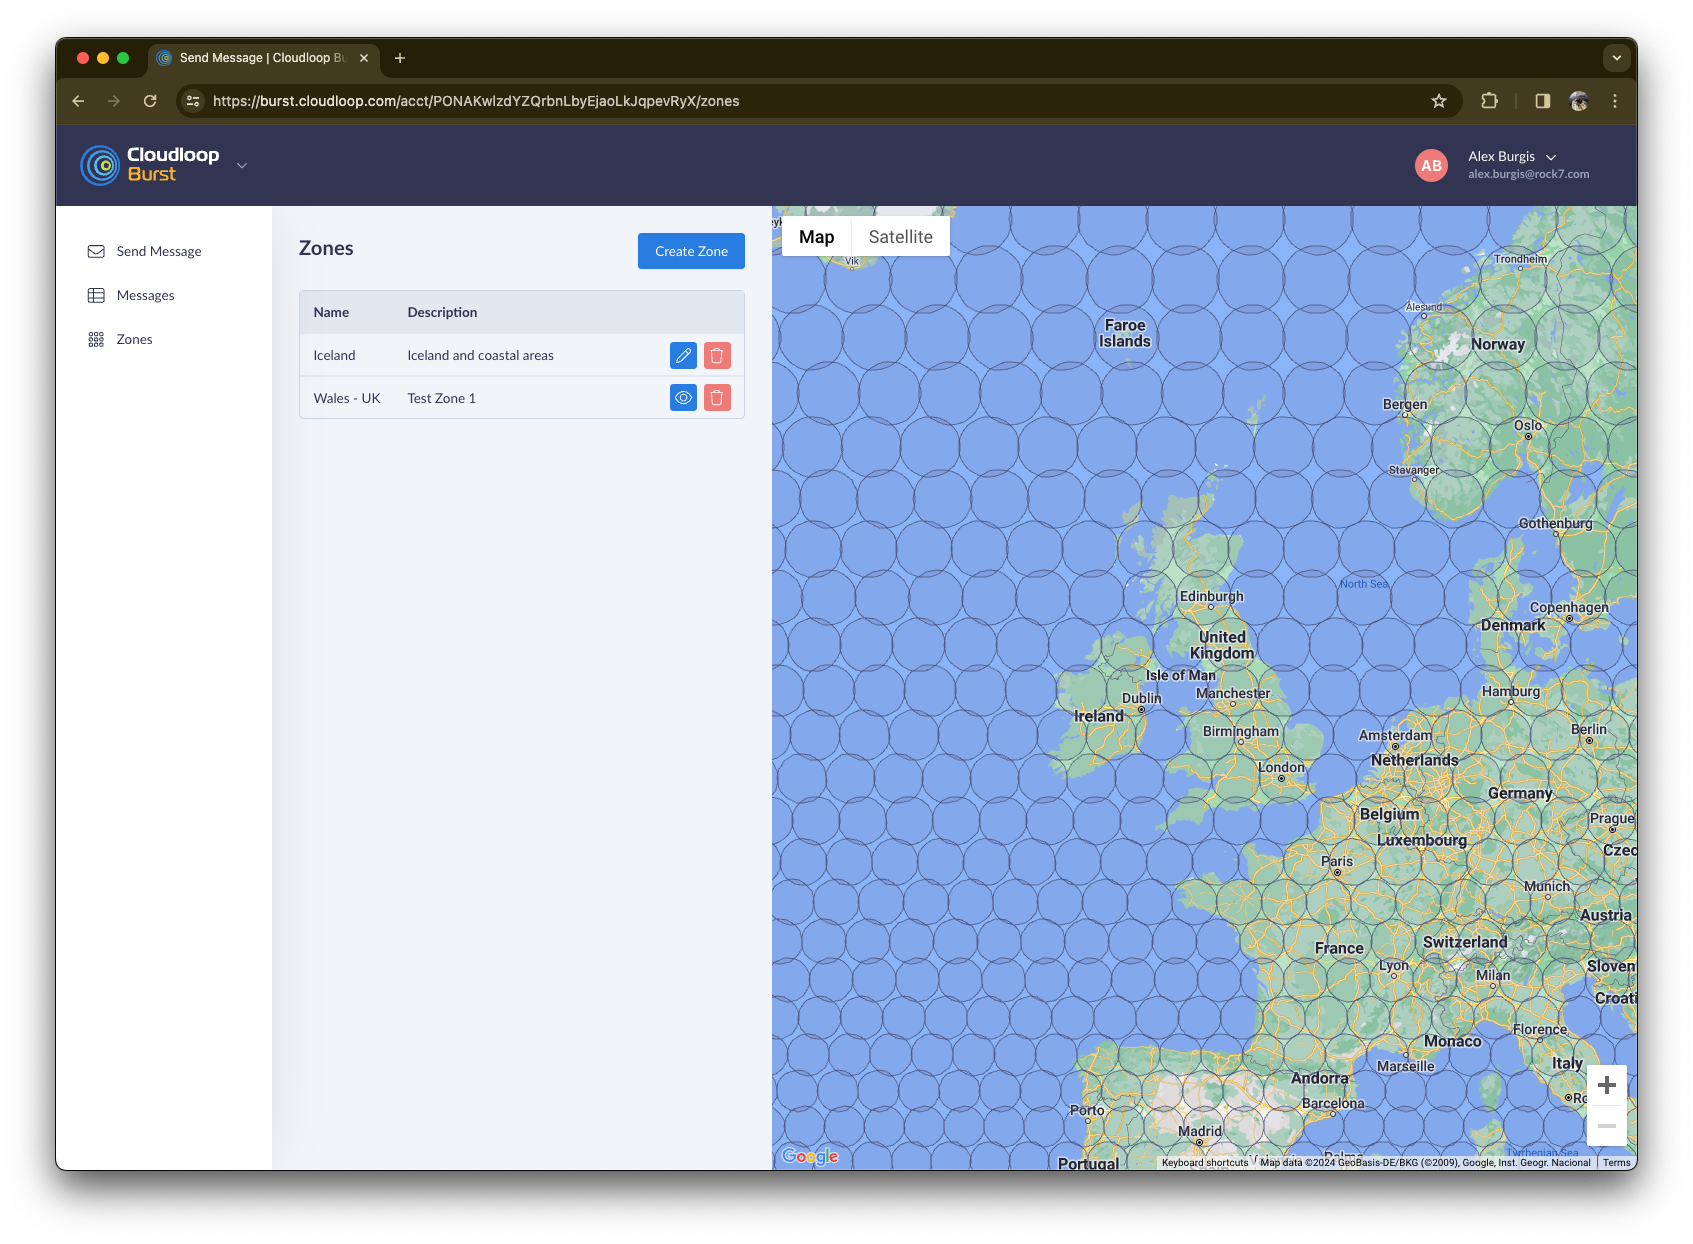
Zone List
Displays all user-created zones with names and descriptions.

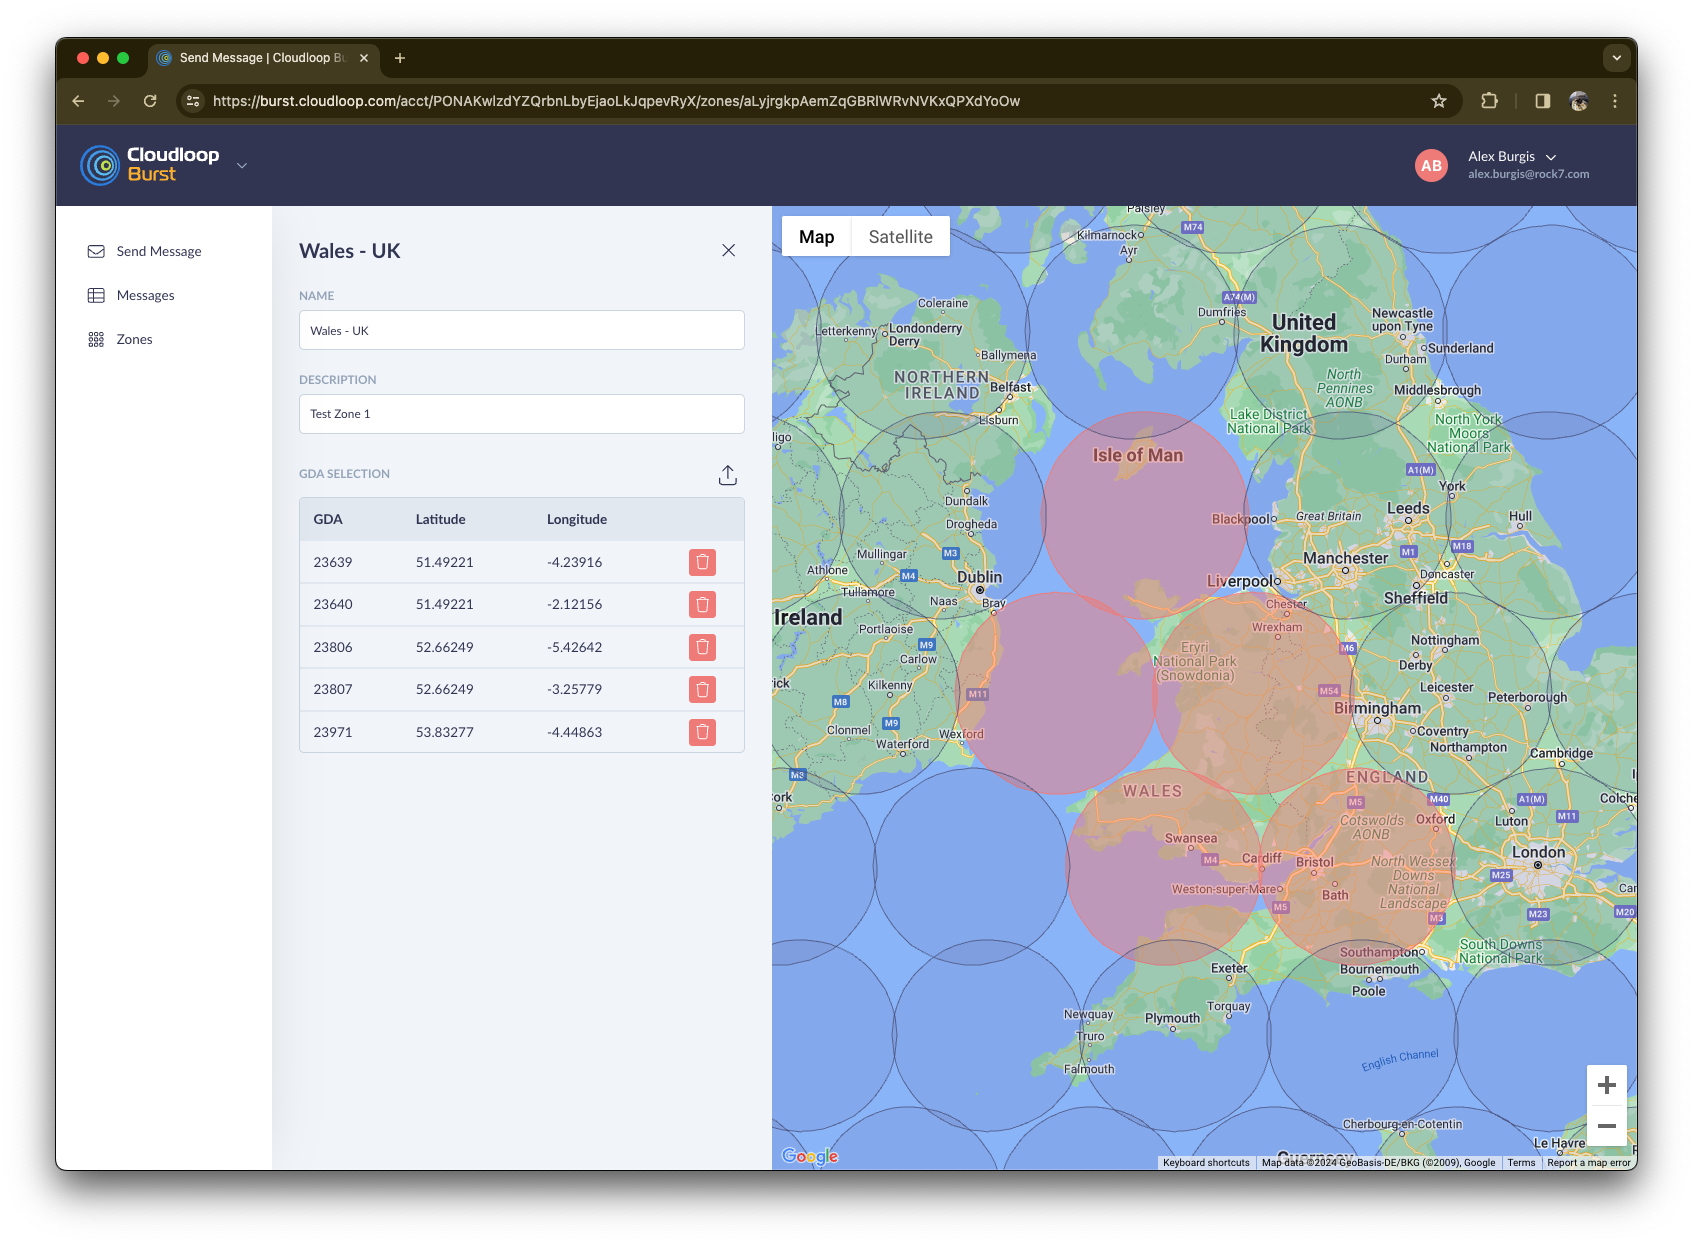
Selecting a Zone shows its GDAs on the map.
Create New Zone
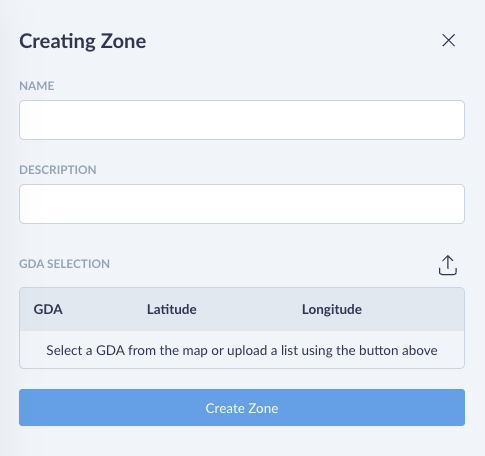
Name
Define the Zone's name, displayed in the Message screen's Delivery Strategy menu.
Description
Add a user-defined description, visible alongside the Zone's name on the Zones screen.
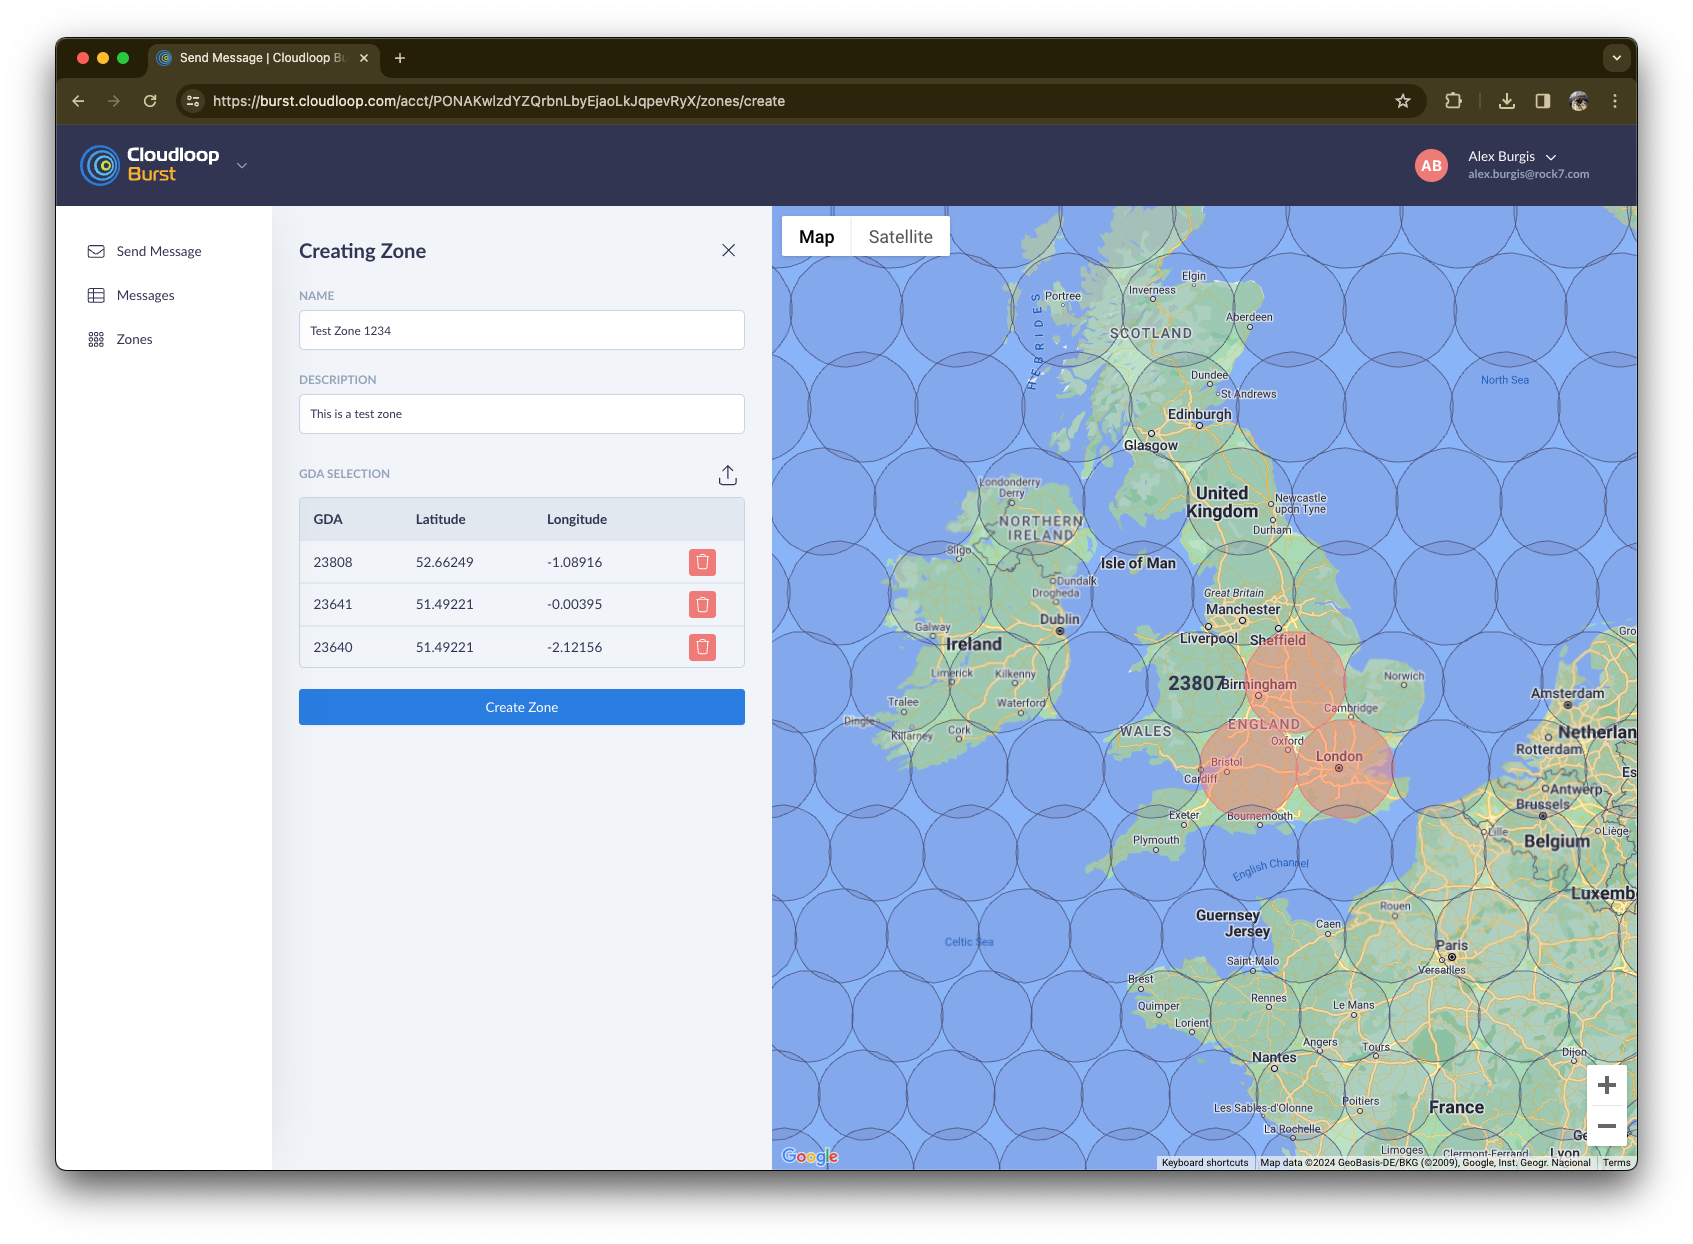
Manual GDA Selection
Add or remove GDAs by clicking on them. GDAs in red are included in the Zone.
CSV Upload
Upload a comma-separated list of GDAs. For example, a list for covering the UK might be
23806,24436,24286,24131,23972,23808,23640,23639,23807,23971,23970,24129,24130,24285,24435,24581,24582,24724,24583,24437,24287,24132,23973,23809,23642,23641,23468,23467,23466,23465.
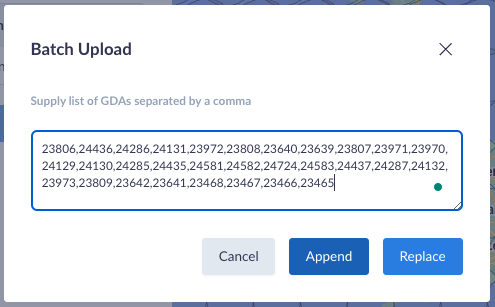
Note: To add the CSV list of GDAs to an existing GDA list, click Append. Clicking Replace will remove any current GDA selection, and only the CSV uploaded ones will remain.
Edit or Delete Zone
Important: Zones cannot be edited or deleted once used. Editable zones show an 'edit' pencil and 'delete' trashcan icons in the zones list, used zones show an eye icon to indicate they are 'view only'.

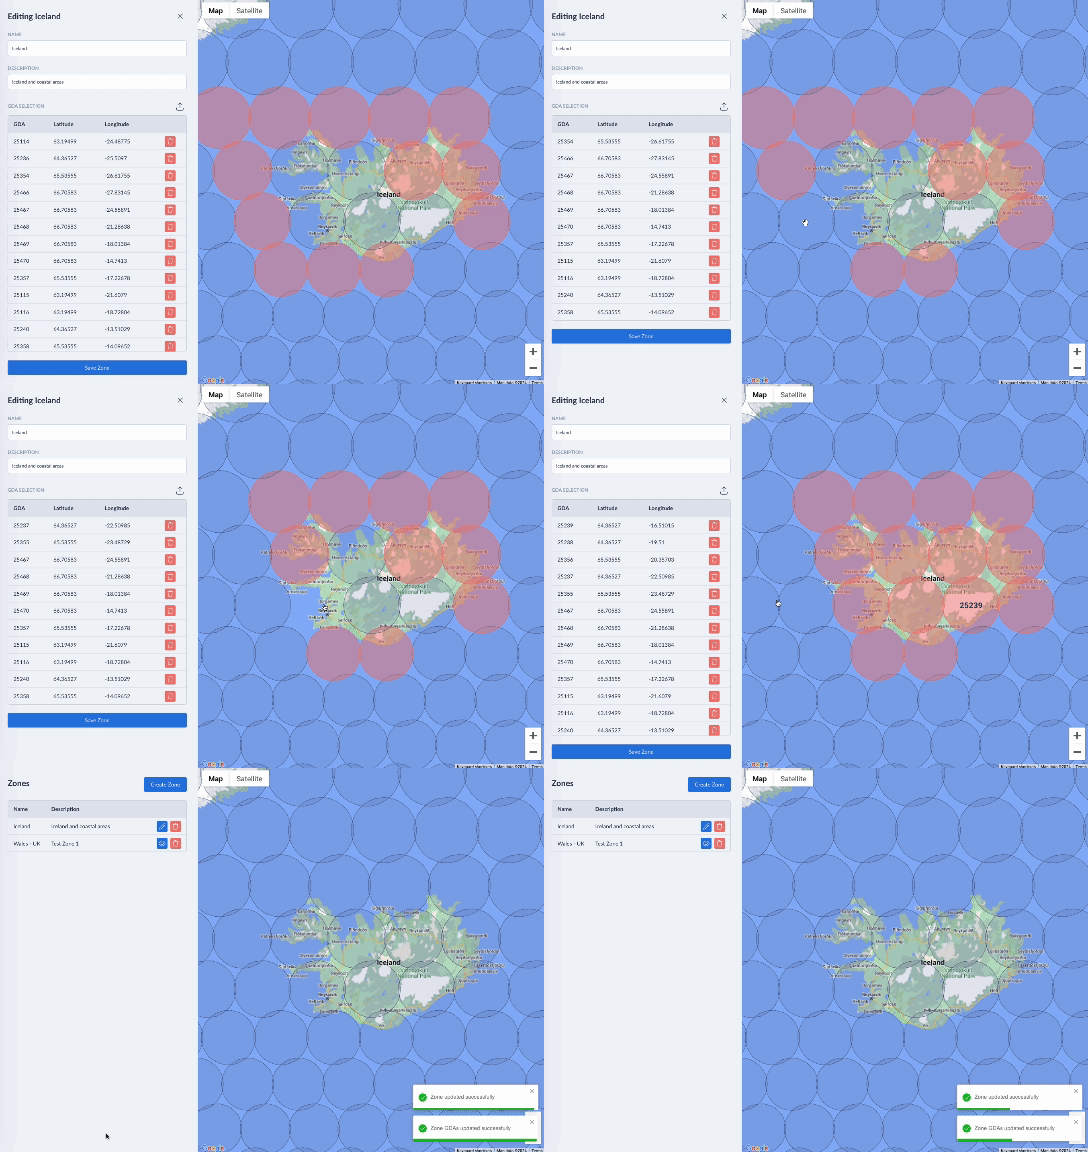
Edit Zone
Add or remove GDAs, update the Zone's name or description.
Delete Zone
Remove a Zone by selecting the trash can icon.