Geofencing Basics
Screenshots in this document were captured from a non-standard account. Interface colours in standard accounts may differ, but all functionality remains the same.
Geofencing Overview
The CORE platform allows users to create virtual geographic boundaries called geofences. Geofences are used to define the behaviour of a tracker within a specific area and to send alerts to first responders if assets enter or leave the defined boundary.
For example, you might want to notify your field team when they enter a potentially hazardous area, while also increasing the frequency of position tracking. Once your team moves out of the hazardous zone, you can decrease the tracking frequency to conserve battery life.
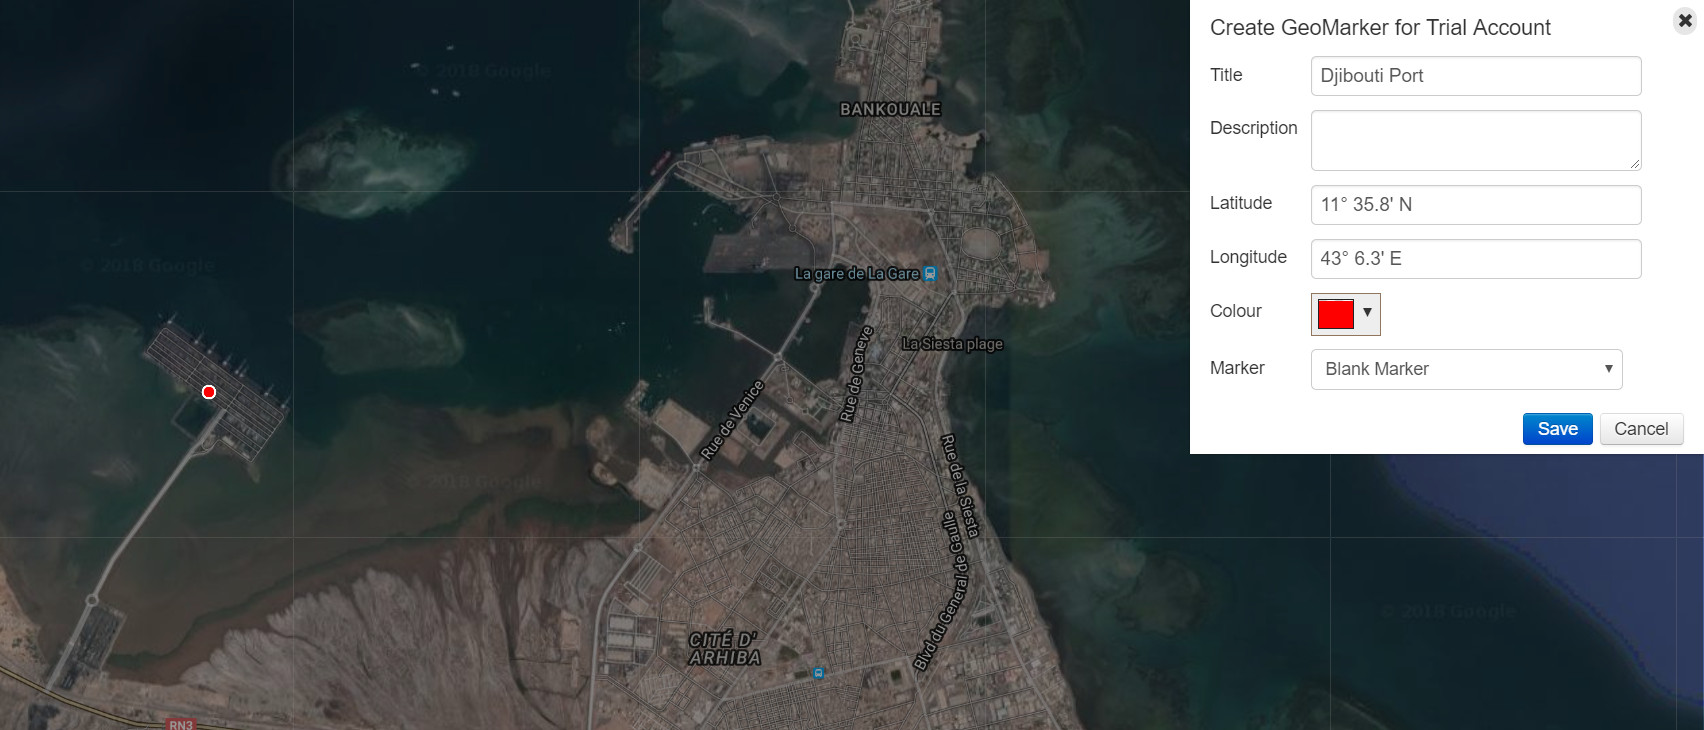
Creating Geomarkers
To create a new geomarker:
- Click on the cog next to your account name.
- Select Draw new Geo Marker.
 to visually distinguish similar geofences.
Creating Geofences
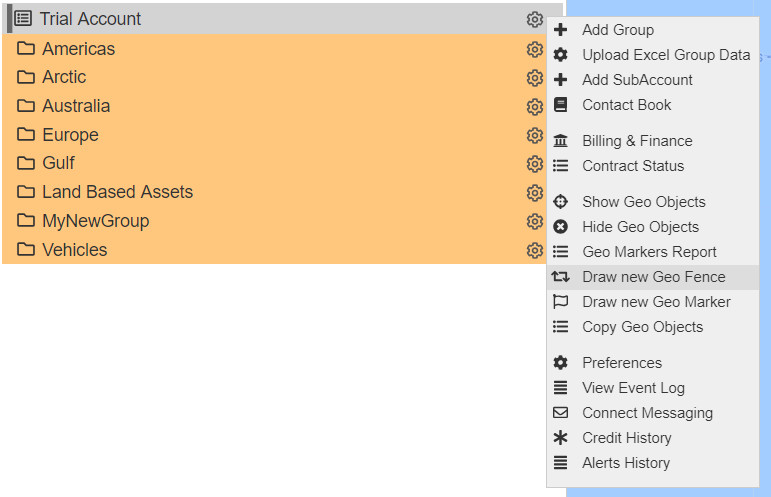
To create a new geofence:
- Click on the cog next to your account name.
- Select Draw new Geo Fence.
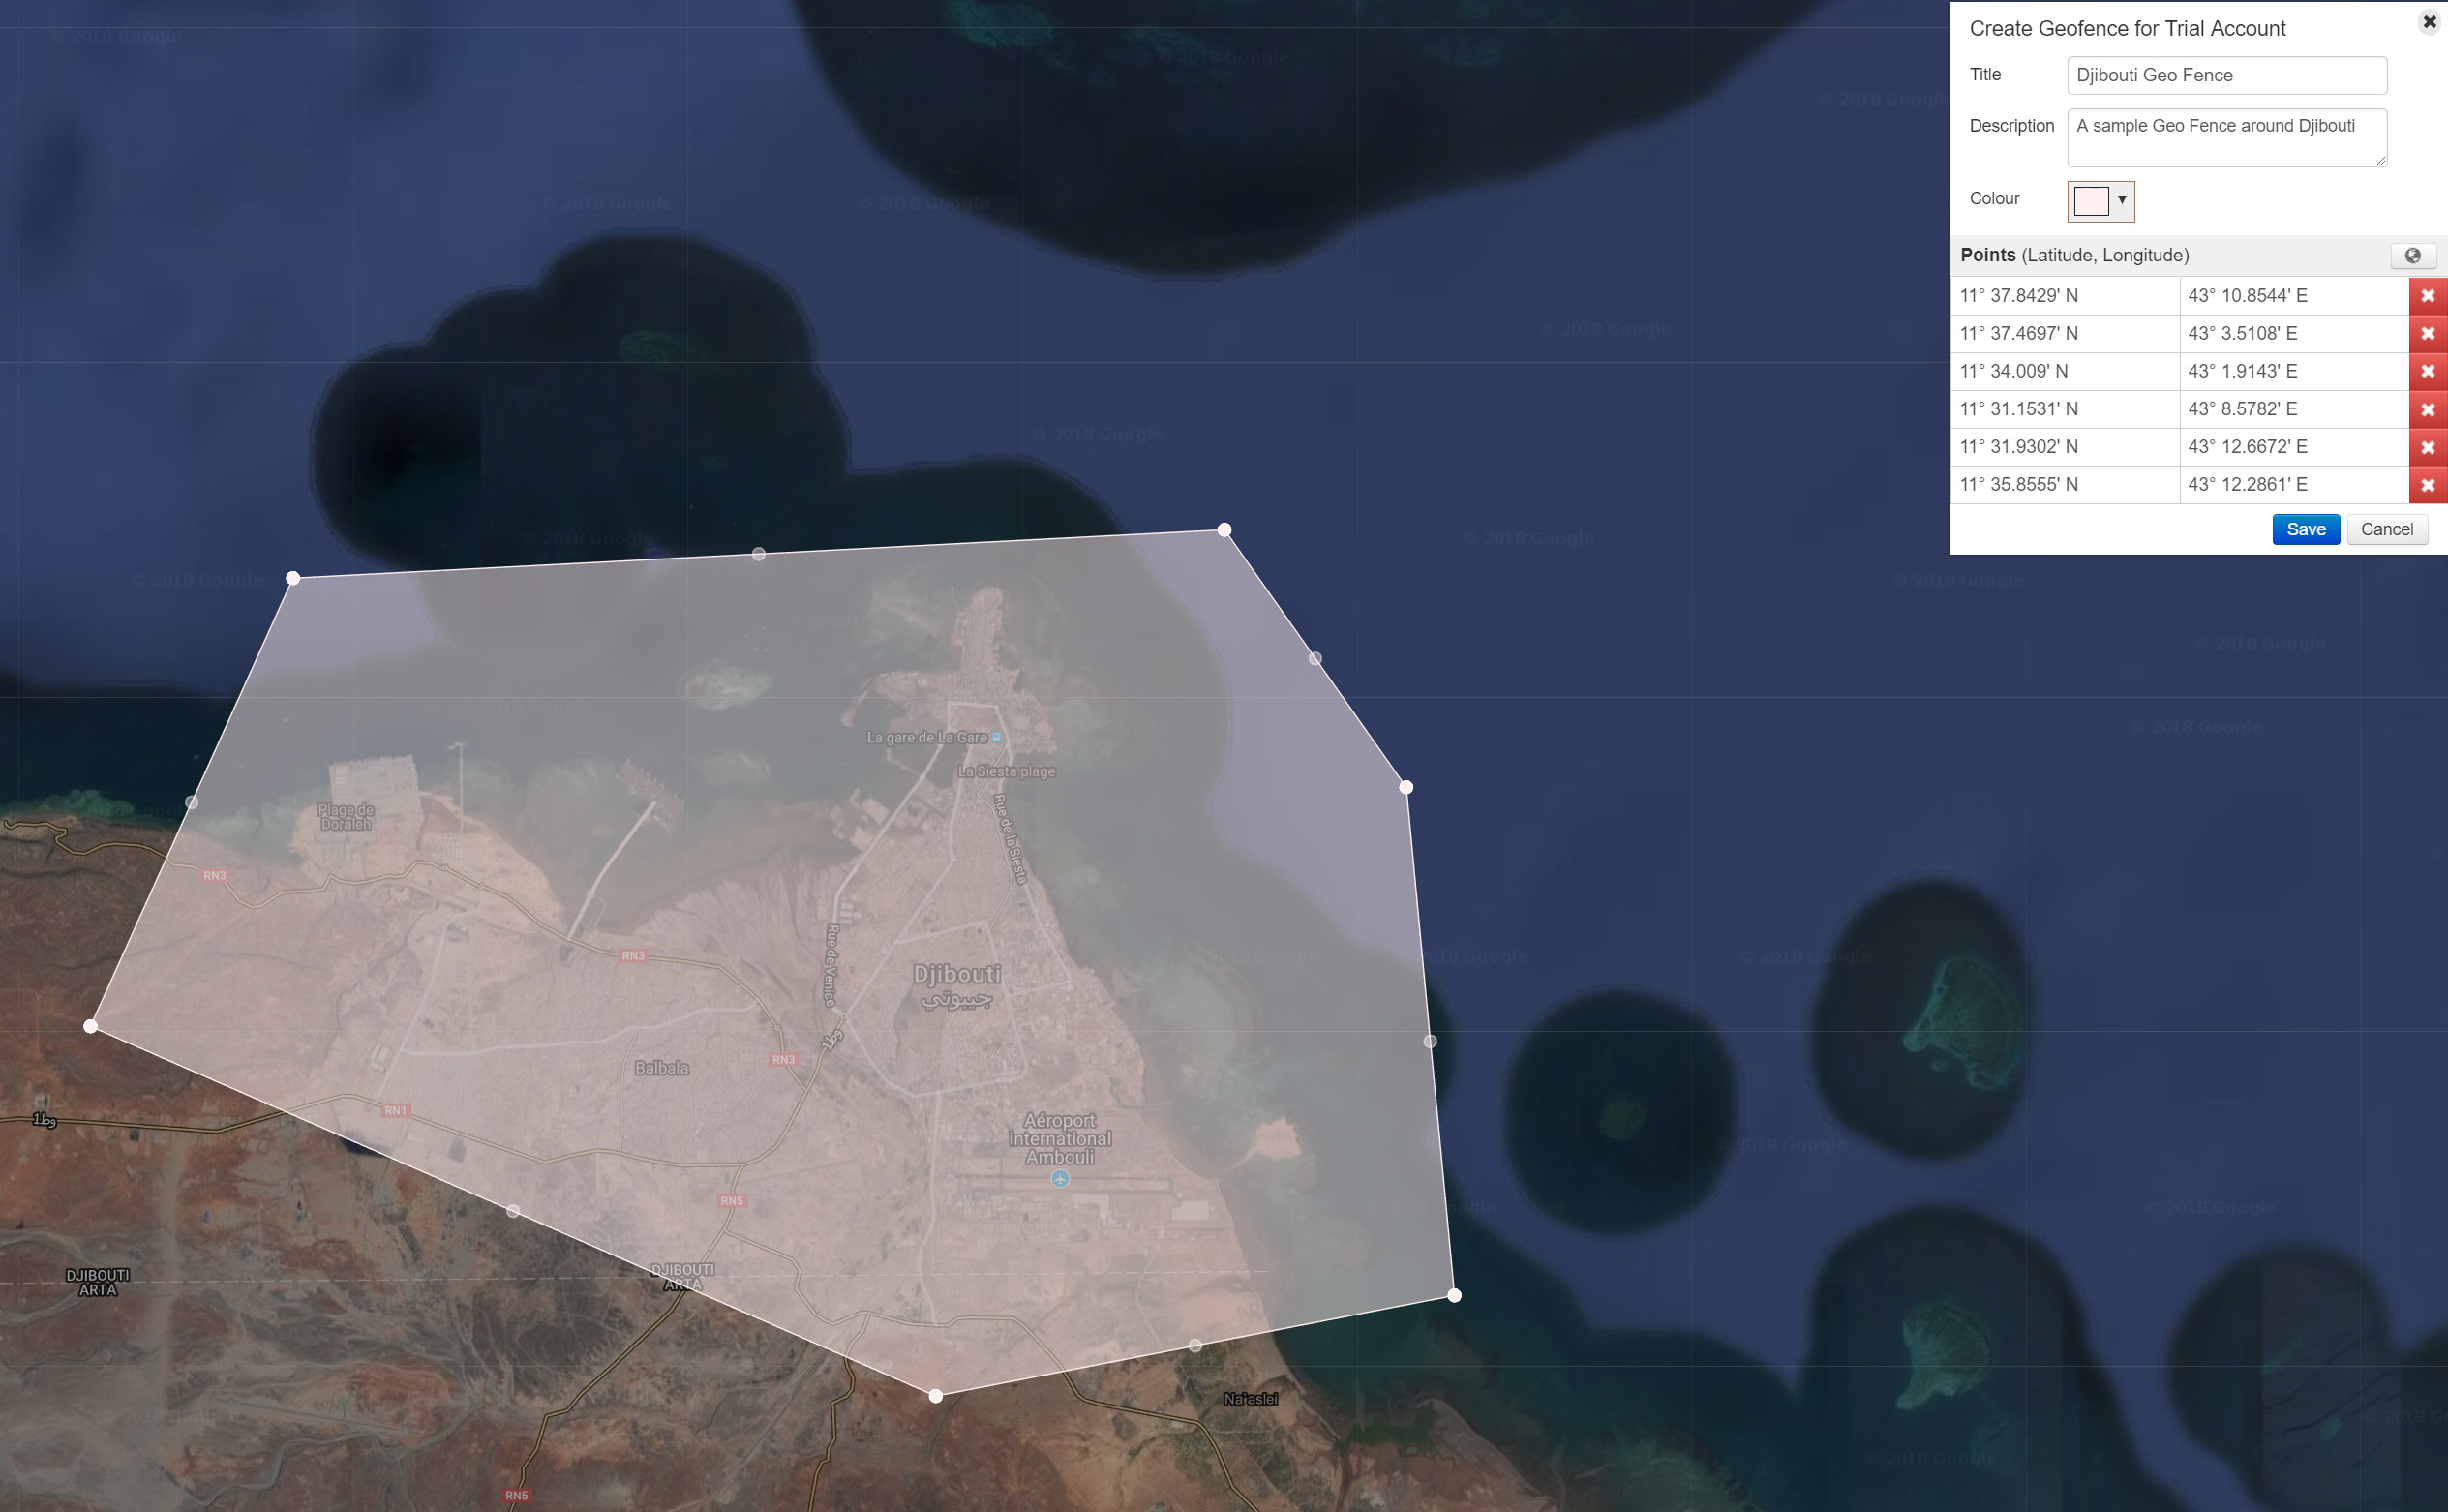
- Define Area: Create a polygon on the map to mark the area of interest. Once you close the polygon, you can save the geofence.
- Editing Points: Geofence points can be added by clicking on the map, and each point can be edited as needed.
Defining Geofence Behaviour
To define how a group interacts with your geomarker or geofence:
- Click on the cog next to the group's name.
- Select Geofences.
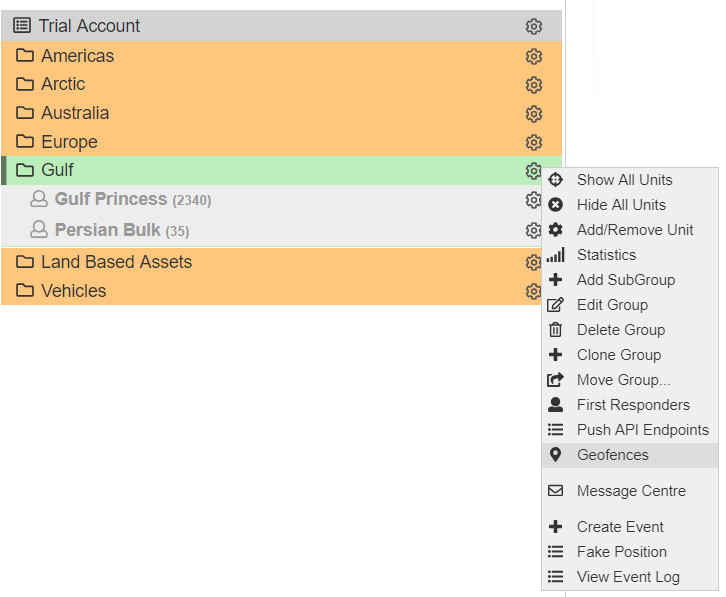
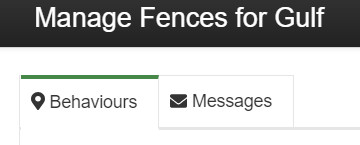
In the Geofences menu, you have two options:
- Behaviours: Set the behaviour of a group when entering or exiting a geofence.
- Messages: Send a configuration message to devices after interacting with a geofence.
Geofence Behaviours
To add a new geofence behaviour:
- Click on the green New Geo-Fence Behaviour button in the Behaviours tab.
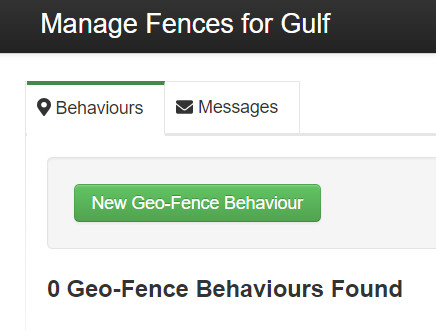
Define the following in the Behaviours menu:
- Geofence: Select the desired geofence.
- Geo-Tag: Choose a geo marker and set the active radius (in metres).
- Direction: Specify whether the behaviour is triggered when moving Inside or Outside of the geofence.
- Alert Responders:
- Yes: Send an alert to first responders.
- No: Send alerts only to HQ via the CORE platform.
All configured behaviours will be listed in the Behaviours tab.

Geofences can be displayed on the map by selecting the View checkbox and clicking the Show on Map button.
Any changes to the behaviour options must be saved using the Save Changes button.
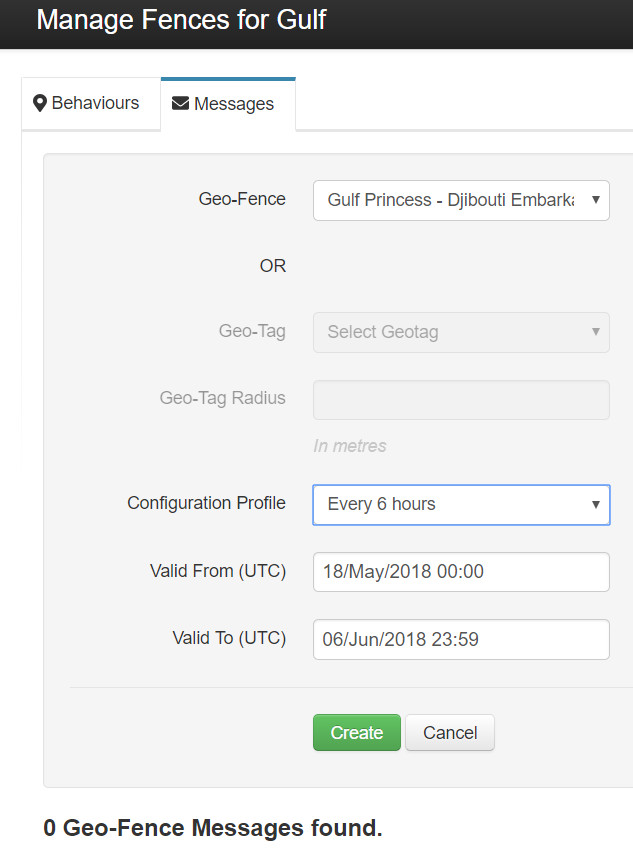
Geofence Messages
The Messages menu allows you to send a configuration profile to a group of trackers based on their position relative to a geofence.
To create a new message:
- In the Messages tab, select New Geo-Fence Message.
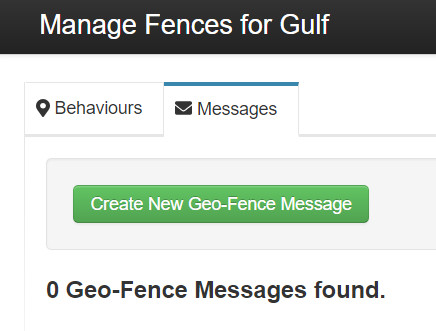
Define the following:
- Configuration Profile: Choose a configuration profile to be sent to the group. Profiles can be selected in Config Profiles.
- Valid From (UTC): Set the date and time from which the new configuration will be active.
- Valid To (UTC): Set the date and time until which the new configuration will be active.
